
Appearance
The Auto Backup Plugin allows administrators to automatically back up their website files and database to external cloud storage services and scheduled backups, helping protect important website data and maintain reliable backup copies.
1. Download the Plugin
After purchasing or obtaining the Auto Backup Plugin, download the plugin package.
The downloaded package will be provided file.
AutoBackup-1.0.0.zip
Make sure you have the plugin file ready before proceeding with the installation.
2. Open the Plugins Section
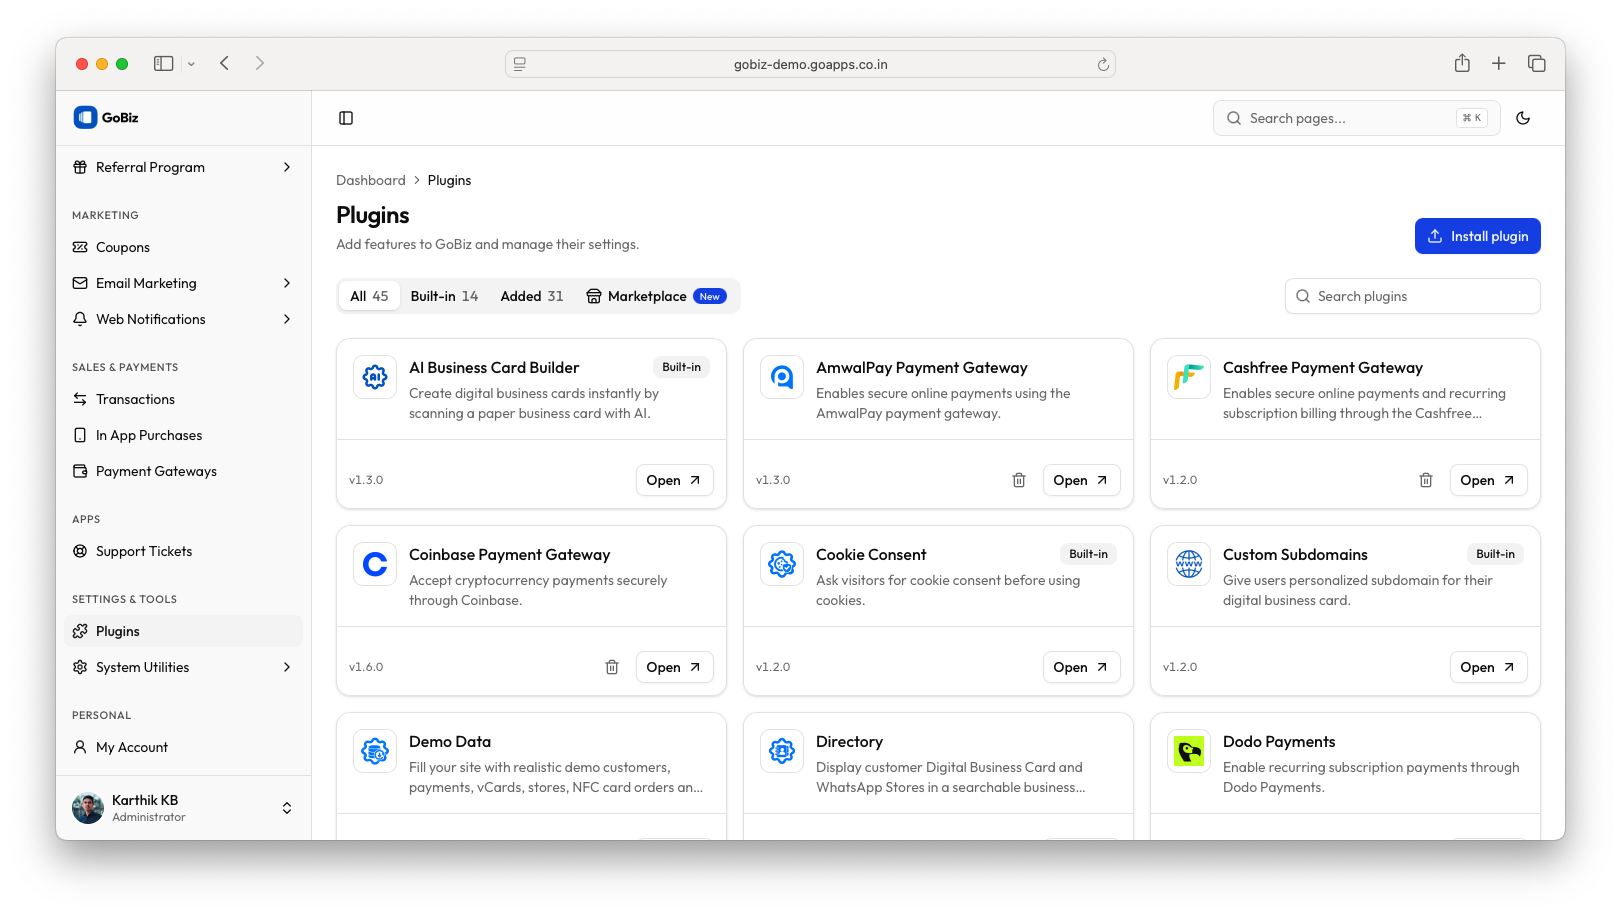
- Log in to your GoBiz Admin Panel.
- Navigate to Plugins from the left sidebar.
- Open the Plugins page.
3. Upload the Plugin
- Click the Install Plugin button.
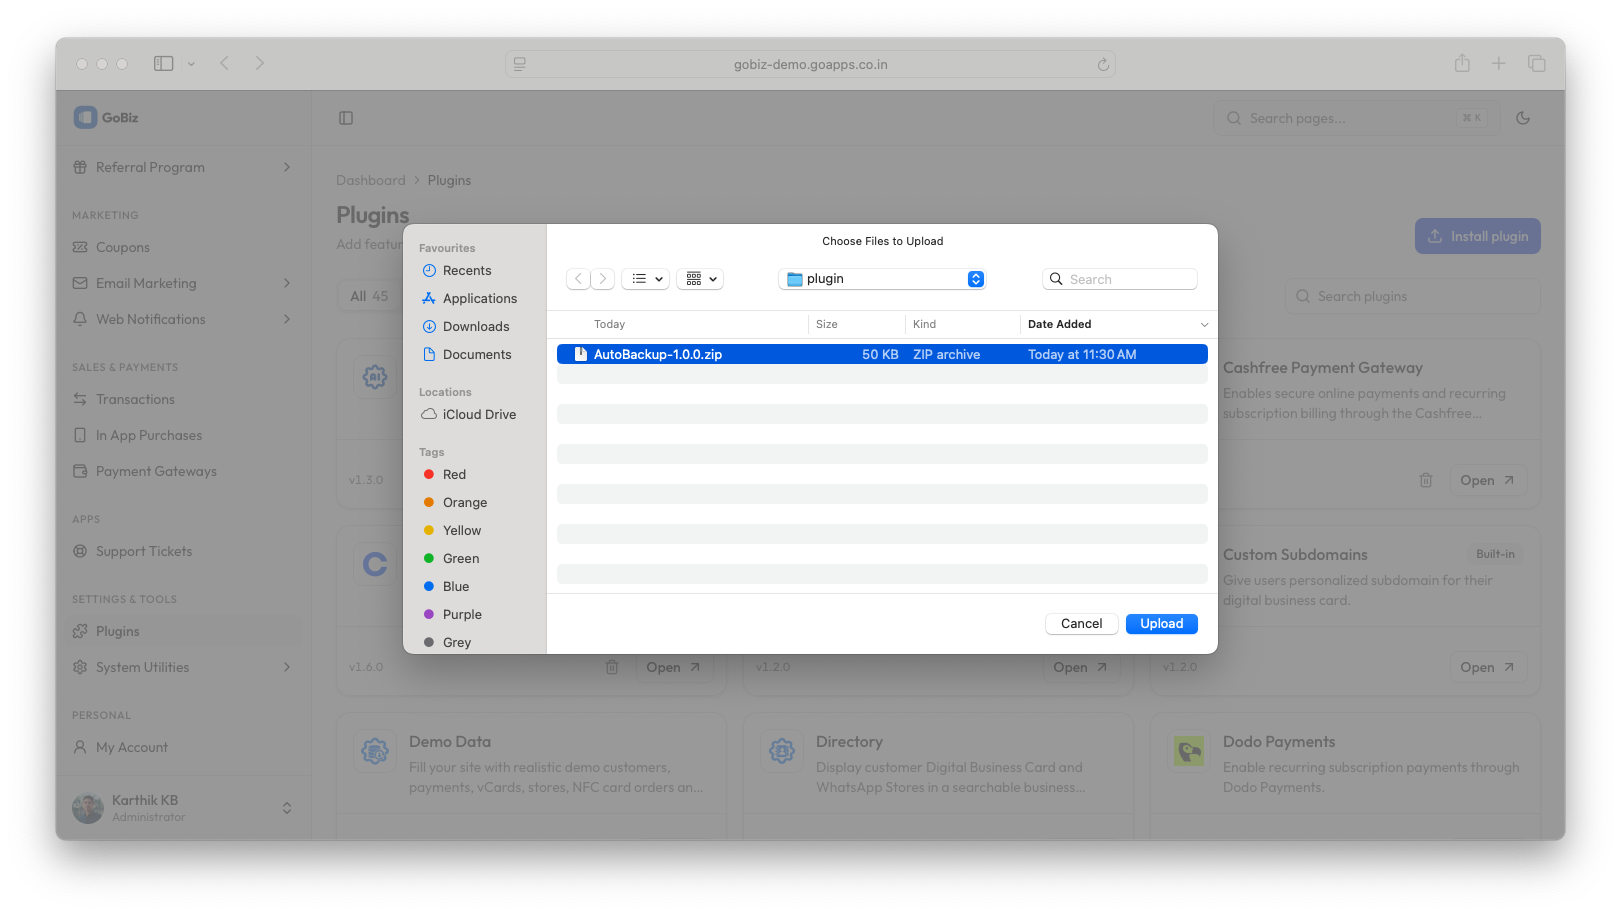
- Select the
AutoBackup-1.0.0.zipfile from your computer. - Verify that you have selected the correct plugin package.
- Click Upload to start the installation.
Wait until the upload and installation process is completed.
4. Confirm Plugin Installation
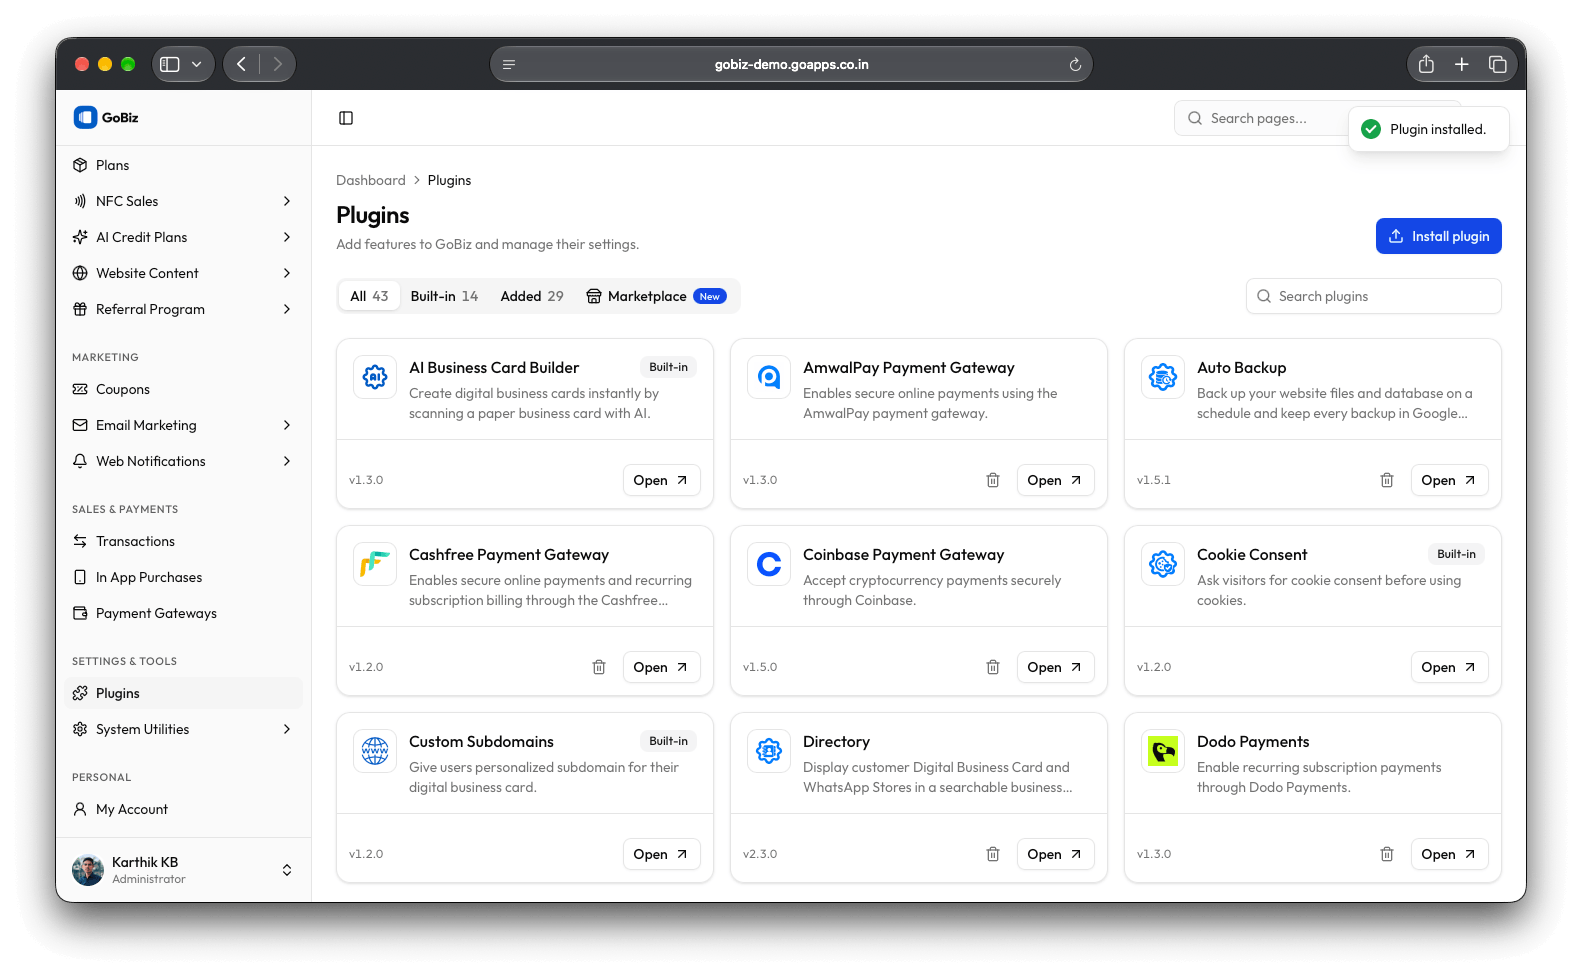
Once the installation is successful, GoBiz will display a plugin installation success notification.
To verify the installation:
- Confirm that the Auto Backup plugin is listed.
- Click Open to access the plugin.
5. Open the Auto Backup Dashboard
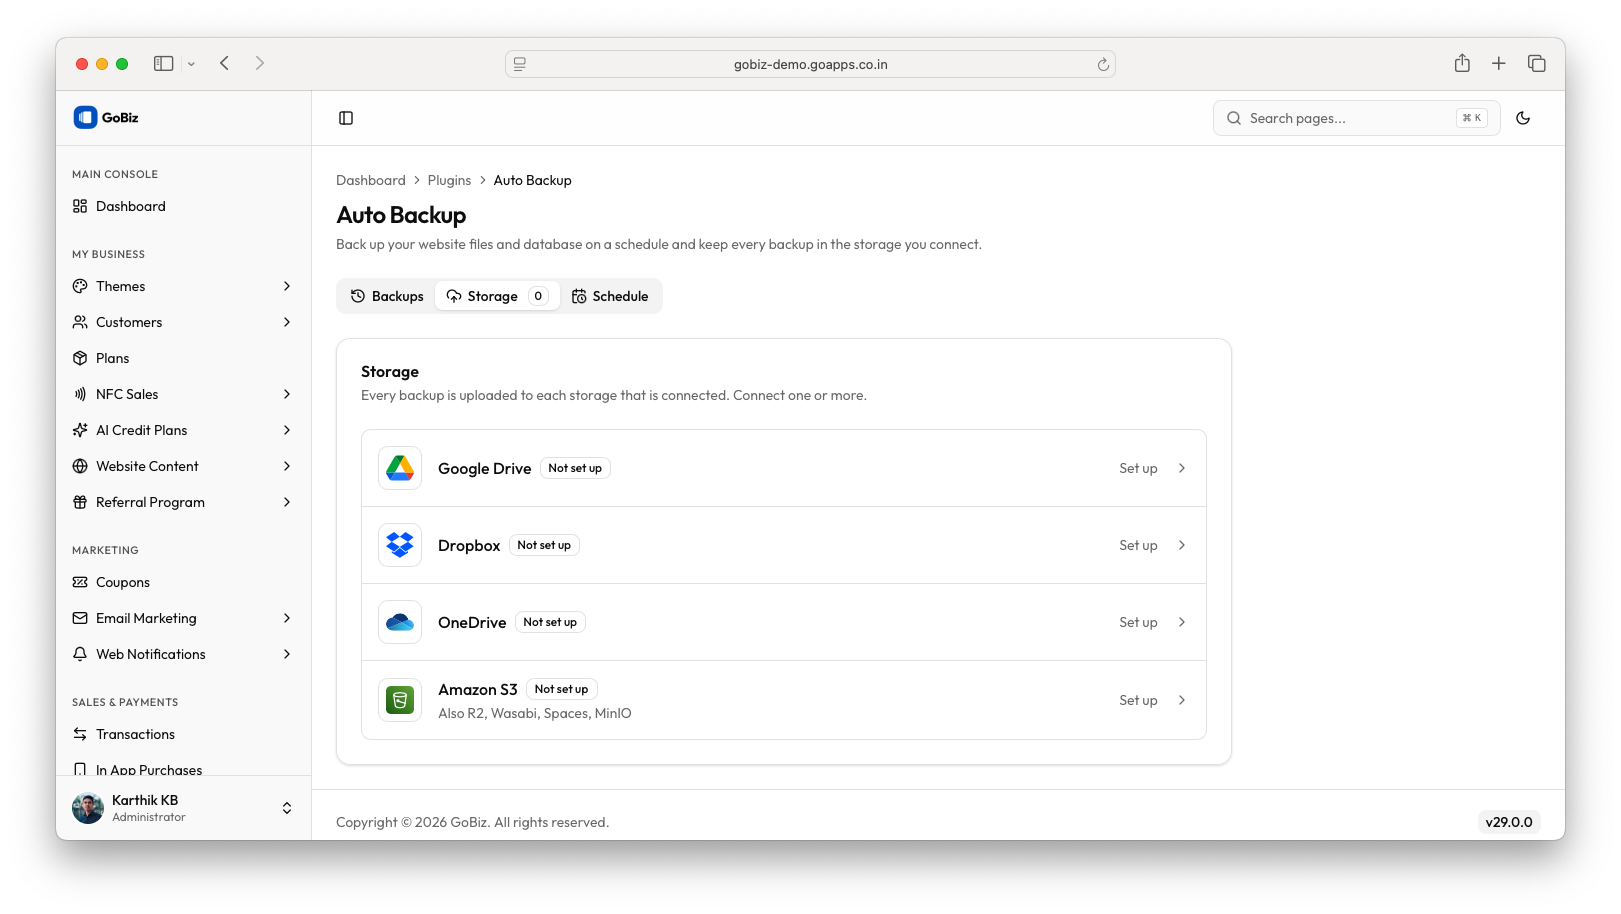
The dashboard provides three main sections:
- Backups: View the backup history and available backup records.
- Storage: Connect and manage external storage providers.
- Schedule: Configure automatic backups and backup preferences.
6. Available Storage Providers
The Auto Backup Plugin supports the following storage providers:
| Storage Provider | Description |
|---|---|
| Google Drive | Store website backups in a dedicated Google Drive folder. |
| Dropbox | Store backups inside the application's Dropbox folder. |
| OneDrive | Store backups in Microsoft OneDrive. |
| Amazon S3 | Store backups in S3-compatible object storage. |
Each storage provider requires its own authentication credentials and configuration.